(You will have to take the panel off the inside of the door.)
You need to remove the side window from the door to get the vent window out. Roll up the window until you see the two fasteners within the window. Use a phillips screwdriver to remove the screws. Take the fasteners completely out. Then the window should pull up out of the door. Notice the position of the wire is to the inside of the fasteners.
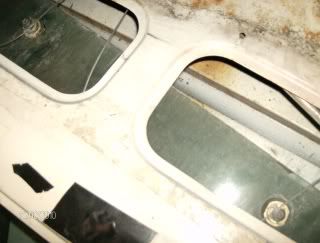
There are a total of three bolts holding the vent window frame in the door. Two are just below the window on the inside. The other bolt is inside the bottom of the door. They take a 10MM socket. Once you have the bolts removed. The bottom frame needs to be pulled up off the stud. This will allow you to pull out the vent window frame from the door. You just have to rock it back and forth till it comes loose. This is what it looks like.
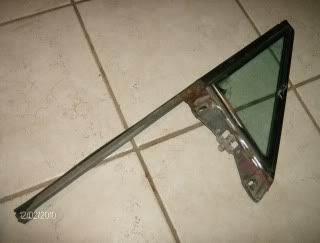
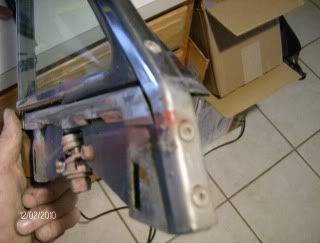
See the rivets on the end here. There are two on the side and one just a little higher.
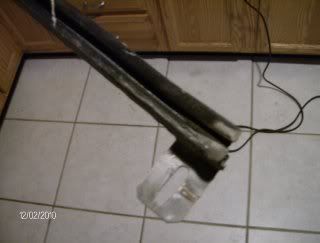
There is a rivet at the bottom here holding felt onto the tracking. You will need to remove the rivet to pull it out.
Once you have removed the felt from the tracking. You will see another rivet within the tracking at the top. You need to remove that rivet too. If your vent rubber is good, make sure you don't drill through this rivet to far or you'll go through the rubber.
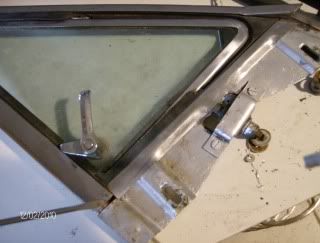
Now that you have drilled out four rivets and cleaned the rivet out of the holes. You have to remove the nut and spring assembly from the bottom of the vent window. You might have to use a screwdriver to pry them off. Mine were stuck. Keep track on the order in which they came off so you can put them back on the same way. Here is a pic of the order in case you forget.

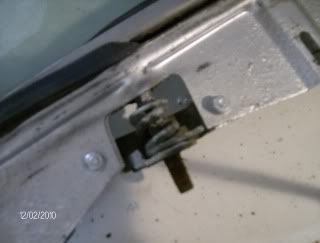
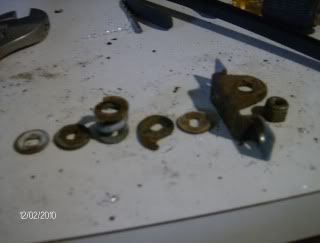
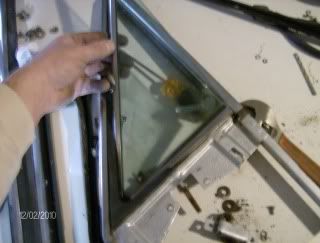
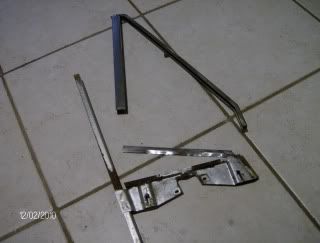
See the pic above, you even have to remove the bracket held on by two nuts. Now that everything is removed from the bottom stud of the vent window. See if the frame will pull down from the chrome trim. Some will feel loose and others may be rusted together. Either way. Take a screwdriver and place it in the end and slightly pry the frame from the chrome trim. Work your way from each side loosening it up. Don't over do it. You don't want to bend the chrome trim. On the first pic., you can see the screwdriver to the right bottom. On the second, it is by the date of the pic. I tried to take the pic so you could see the screwdriver but it was almost impossible.
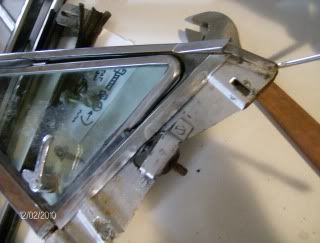

If your just replacing the rubber around the vent window. You only have to lower the frame about a 1/4" so the vent window clears the hinge and comes out of the frame. Once you can see the hinge has come out of its socket. You can pull the vent window out. Be careful not to drop it.
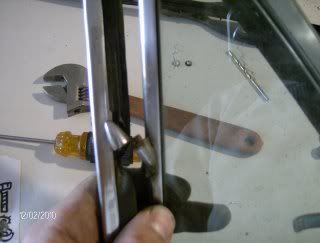

To remove the rubber. Start toward the front and pull the rubber out of the frame. Work your way toward the top pulling the top outward. If your rubber is good and your dealing with rust. Be careful not to rip the rubber.
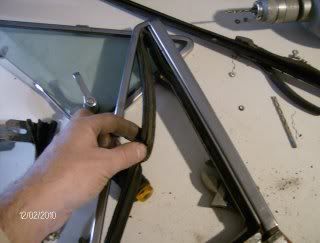
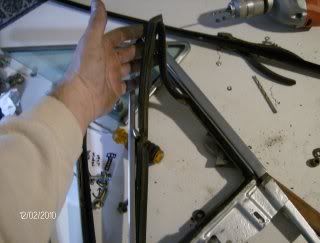
If your going take everything apart to clean up the rust. You have to gently pry up on the chrome trim to remove it. Be careful not to scratch it or mangle it. (I jumped around grabbing different vent windows to take pictures trying to show every step. This one still has the window in it.)
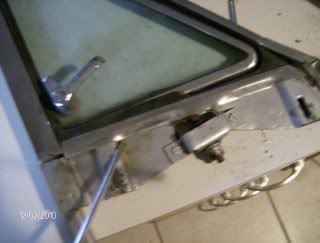
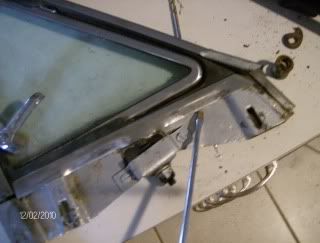
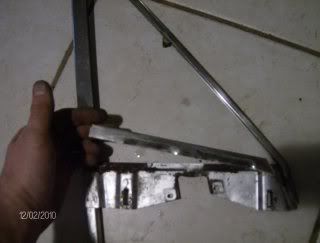
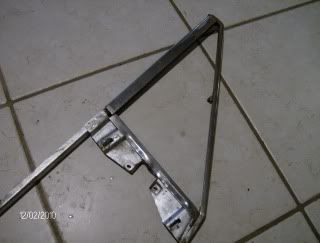
If you want to remove the chrome trim from the frame. You have to pull it downward more. It will all come apart. After your done with clean up and are ready to assemble your parts. Just reverse the order. You will have to rivet the frame back together before installing the rubber. I would use some stainless rivets.
I hoped this helps.
