Page 14 of 55
Re: Edit... Resto mod coming together
Posted: Mon Jun 09, 2014 7:53 pm
by AriK
Hi Alan,
Got your note, thanks! Your restoration is coming along, one step at a time getting closer to the finished product. Just because i havent posted recently doesn't mean i haven't been following this project, i've been quiet in the sidelines. The problem you are going to have is once you get it on the road you will be detailing it from all angles. Ever hear of a guy taking a microfiber towel to the underside of the floors, chassis and wheel wells? That will be you, my friend. Anyhow, it's a good problem to have. Don't get me wrong, i'm not laughing at you and not ironic by all means,it's just another way of telling you that once the restoration is complete and the bugs are debugged you will have the most satisfying feeling known to you. I hope you print out this topic page by page and post it in your restoration scrapbook.
Continue as you do, every step every day gets you closer to your destination. I among lots of others on this board are keeping a close watch...
Regards,
Ari
Re: Edit... Resto mod coming together
Posted: Tue Jun 10, 2014 7:01 am
by SoFlaFiat
Thanks Ari!!
My wife is going to laugh her ass off if she catches me under the car with a microfiber cloth!!

I'll have to do it while she is at work

Re: Edit... Resto mod coming together
Posted: Wed Jun 11, 2014 7:12 pm
by AriK
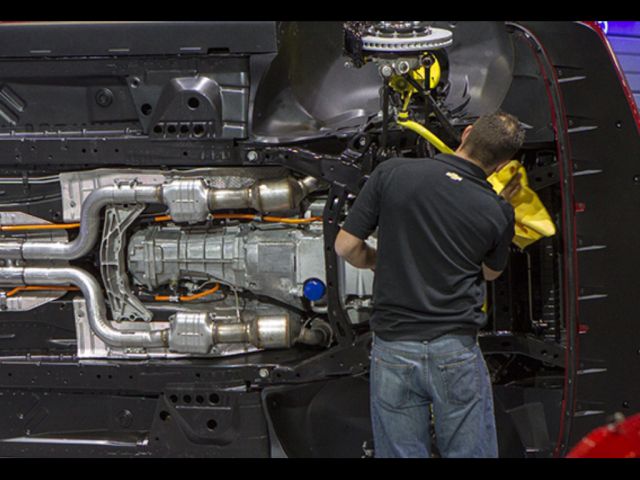
Here you go! Don't let her learn the real reason why you keep that rotisserie set up

Re: Edit... Resto mod coming together
Posted: Thu Jun 12, 2014 4:34 pm
by SoFlaFiat
Nice!!!

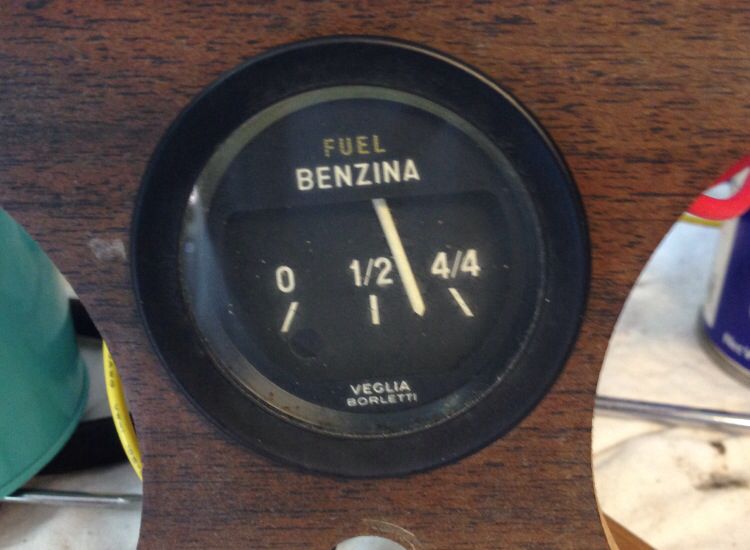
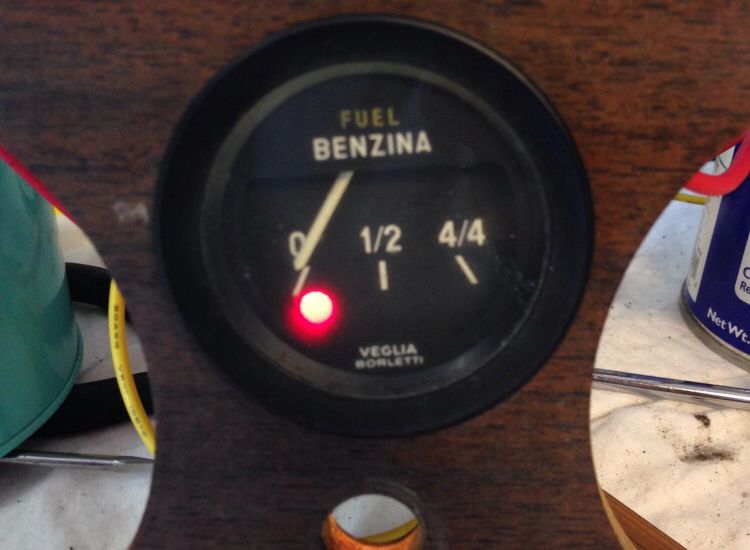
Well, it's been another crazy week at work but with the help of Cormac, for sending me some gauges to work with, Feltner Used Fiat Partz for providing a sender and the advise of the gurus on this forum, I have a working fuel gauge and sender.
I will have to do some minor fab work on my aluminum fuel cell to fit the stock sender but that should not be a problem!
Baby steps!!
Re: Edit... Resto mod coming together
Posted: Fri Jun 13, 2014 9:18 pm
by dnelson
I recently had occasion to measure resistance at the fuel sender (original sender 76 model). Got 61 ohms at very near empty (light on) and 54 ohms at half full.
Re: Edit... Resto mod coming together
Posted: Sat Jun 14, 2014 12:29 am
by vandor
Does that sender work well? Just from memory, but I thought the resistance range was 0-300 ohms. Alan?
Re: Edit... Resto mod coming together
Posted: Sat Jun 14, 2014 6:15 am
by SoFlaFiat
I will check it this morning...after my coffee

Re: Edit... Resto mod coming together
Posted: Sat Jun 14, 2014 7:08 am
by SoFlaFiat
I am getting readings of +/-342 at empty and +/-22 at full. So, Csaba, your memory serves! 0-300 seems right.
Re: Edit... Resto mod coming together
Posted: Sun Jun 15, 2014 9:31 am
by dnelson
Maybe not, I was making measurements out of concern for performance! Gauge flops and light blinks on and off around at near empty. Gauge stable at half full.
Re: Edit... Resto mod coming together
Posted: Sun Jun 15, 2014 11:44 am
by SoFlaFiat
spider2081 wrote:The good thing about a panel mount LED is there is a large selection of sizes, bezel styles and colors. Also with your talent if you could modify the gauge with a small LED that lights from the sensor in the head. A 12 volt LED will light (almost full bright) around 3 volts but a 12 volt incandescent bulb doesn't become dimly visible until about 6 volts. This is one of the reasons LED's make good annunciators. LED's draw very little current compared to incandescent bulbs also. So you connect power to the + side of the LED and the sensor to the other. If the coolant temperature exceeds 160 degrees the sensor closes and the LED light's
Thanks for the info and ideas!!
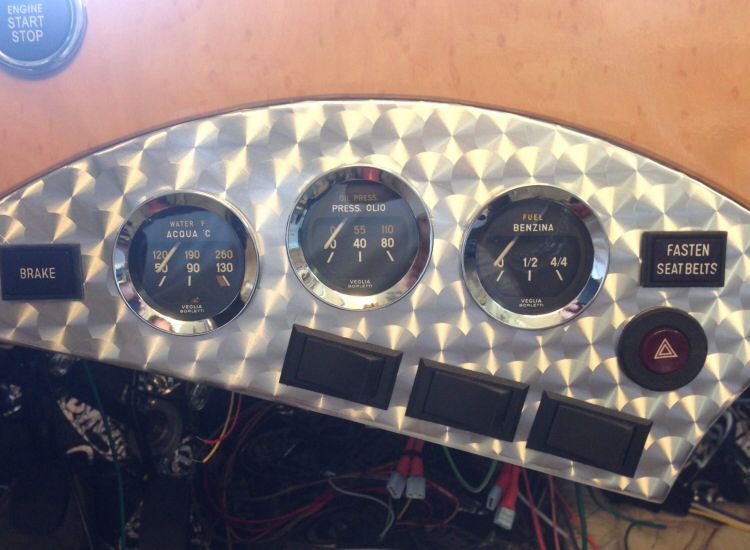
Here is what I ended up with for a high temp sensor warning
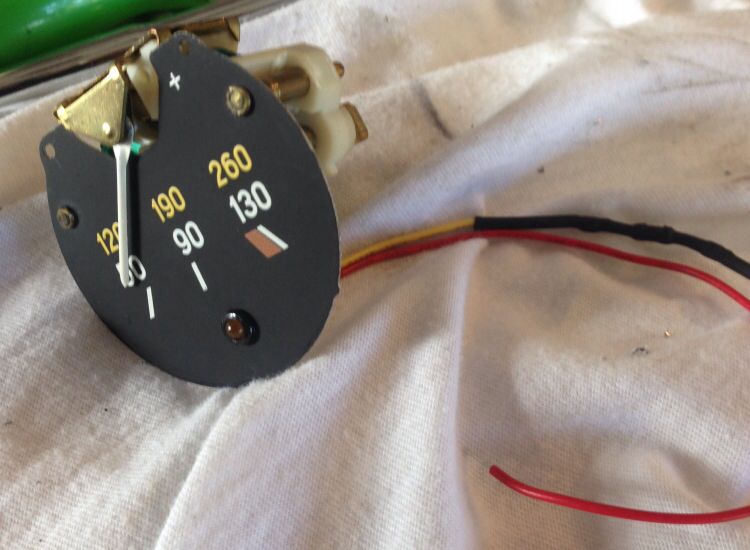
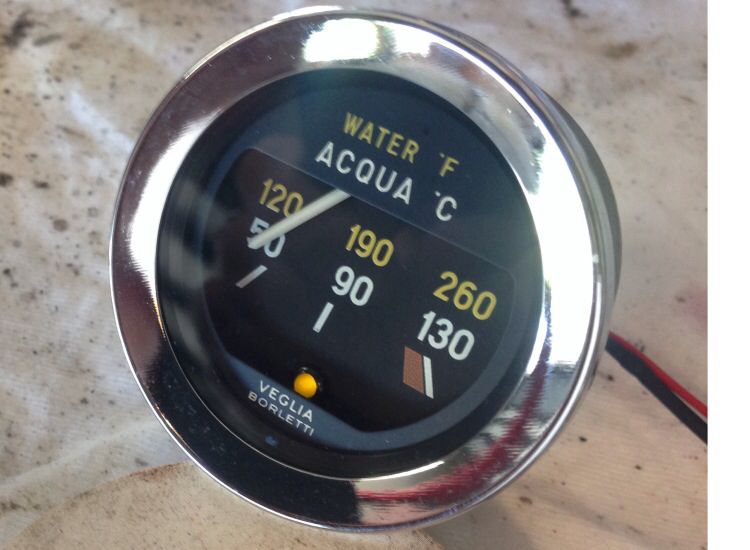
And I decided the chrome gauge bezels look too good not to use.
Re: Edit... Resto mod coming together
Posted: Sun Jun 15, 2014 12:55 pm
by MrJD
ok, i LOVE the warning light. But 160 degrees?
Re: Edit... Resto mod coming together
Posted: Sun Jun 15, 2014 1:49 pm
by Redline
What's the diameter of that hazard switch? Is it threaded?
Re: Edit... Resto mod coming together
Posted: Sun Jun 15, 2014 4:19 pm
by SoFlaFiat
JD,
2081 already said that was a typo, I shouldn't have reprinted it

Redline,
I believe it is stock late model spider. It fits a 22mm bore and has a spring washer and nut threaded on from the back. The red button lights dimly with the parking lights and flashes with hazards on. Somebody can correct me on what years this came stock on our cars.
So with a little modification, it fits
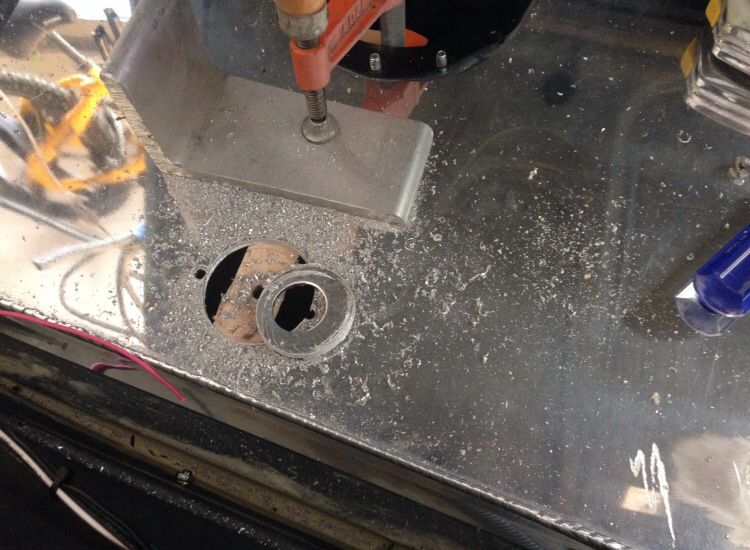
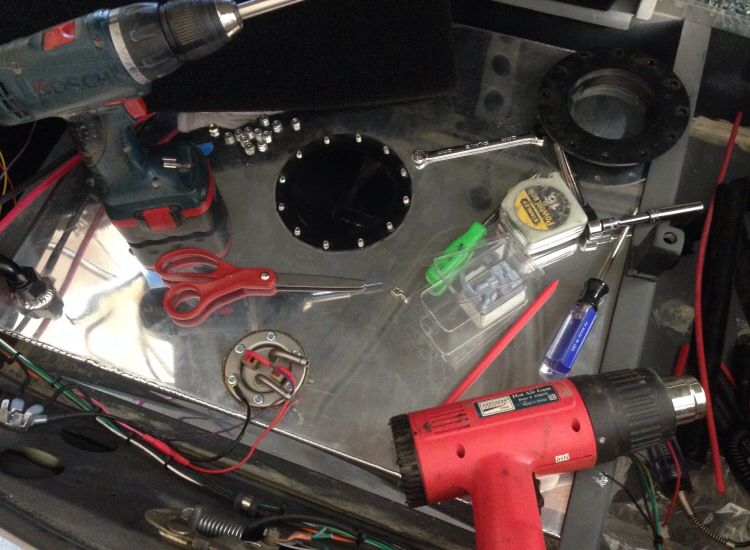
I had to trim about 2" off the bottom of the original pick-up and then attached a hose to it to make a guard to keep my foam from getting hung up in the float. I also modified the float arm, bent it

, to get it to bottom out just above the bottom of the tank. I get the feeling it is going to read full for the first 5 gals but I can Iive with that if it tells me when it is empty.
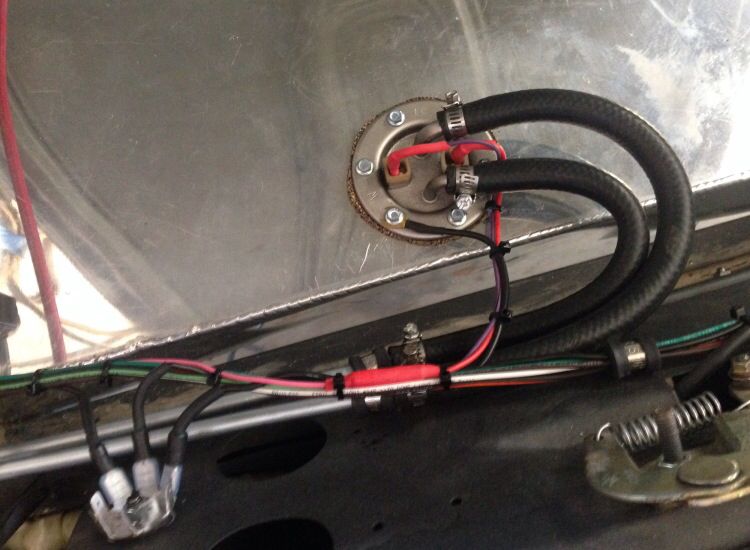
I have plumbed both the sender fittings to the fill tube as vents. The fuel line feeds from the lower front of the aluminum fuel cell.
Re: Edit... Resto mod coming together
Posted: Sun Jun 15, 2014 4:25 pm
by Redline
Thanks for the info.
I really like all your tidy wiring work.
Re: Edit... Resto mod coming together
Posted: Thu Jun 19, 2014 4:07 pm
by MrJD
SoFlaFiat wrote:
my brake lines.
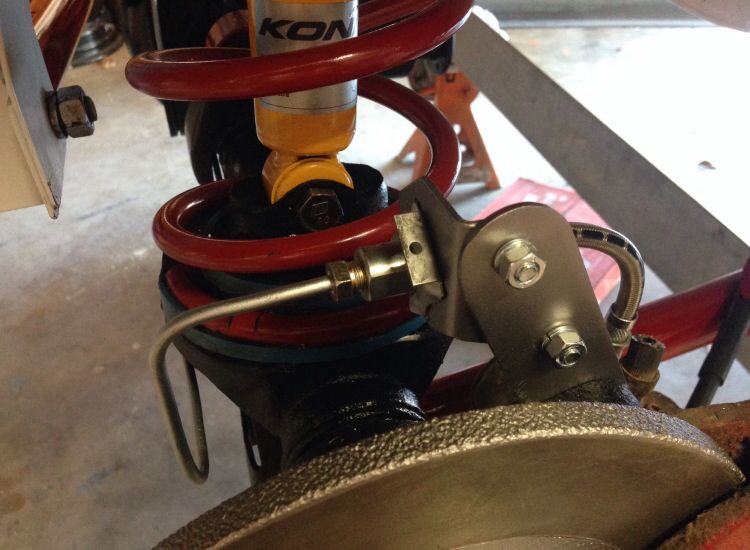
The old saying is buy tools, not labor.
Could you estimate what the brake lines cost you? I dunno how it all works at this point, but did you just buy new line, and re-use the old fittings? Are you planning to coat the brake lines in a sealant?


